Author: Micheal Brown

  • Under Desk Cable Management Tray for Small Home Offices

    Under Desk Cable Management Tray for Small Home Offices

    Disclosure: As an Amazon Associate, I earn from qualifying purchases. This article uses affiliate links, which means I may earn a commission if you buy through them, at no extra cost to you.

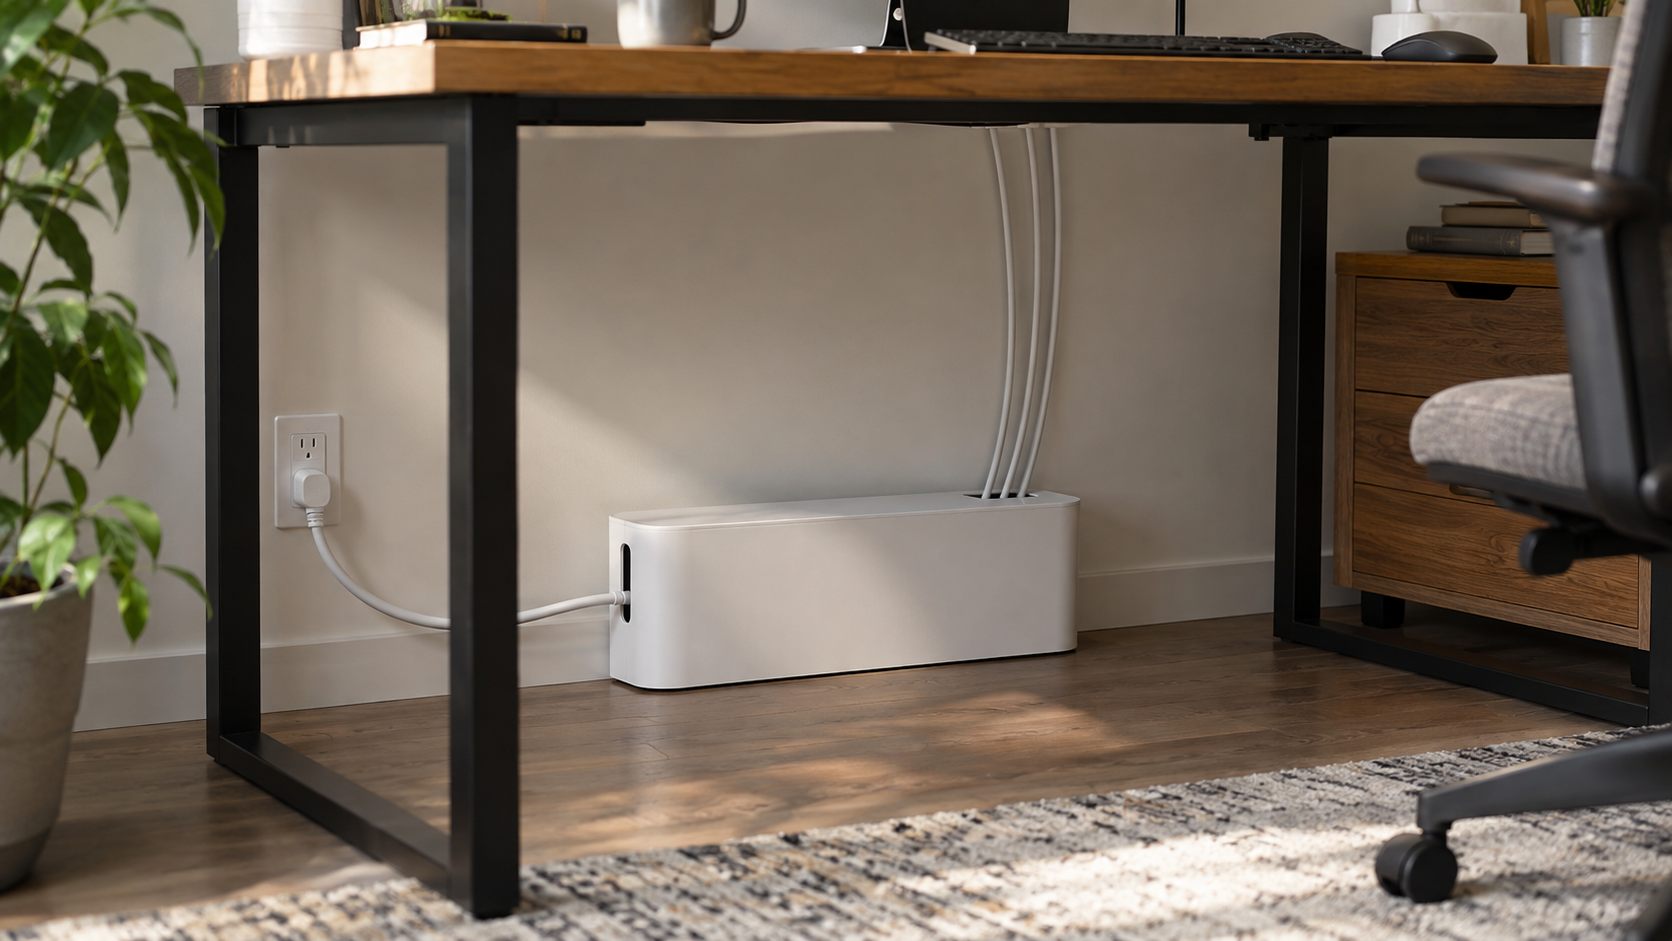
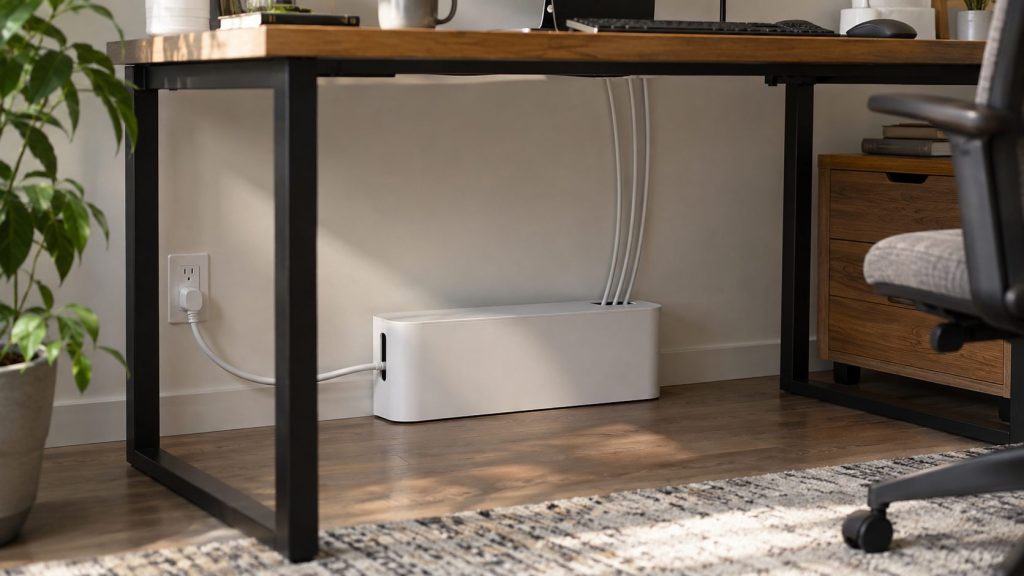
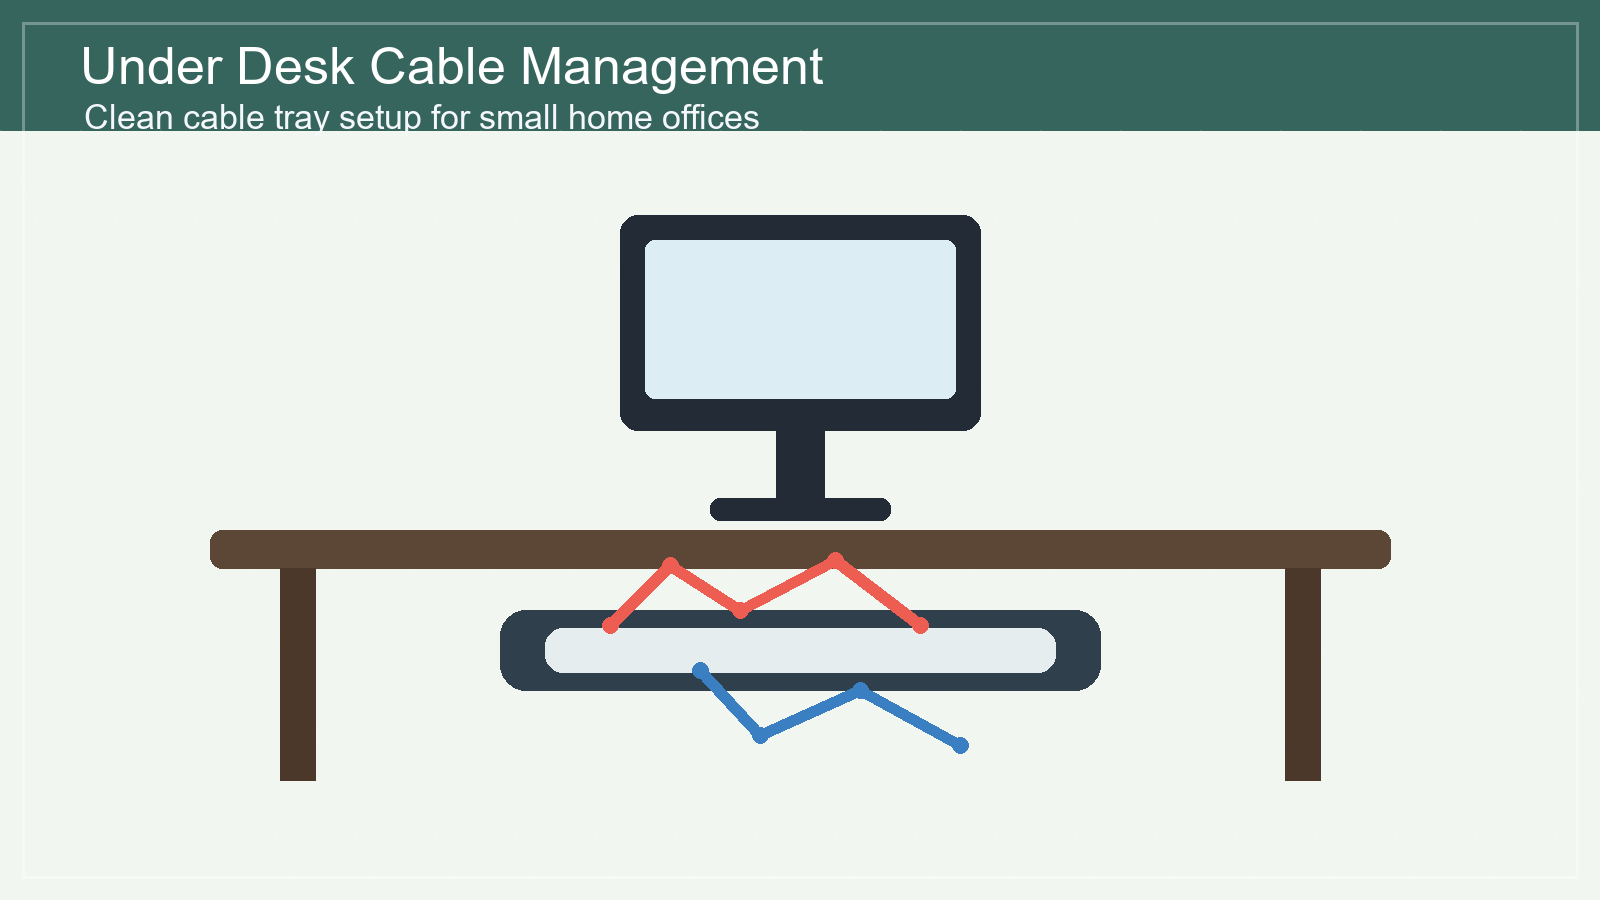
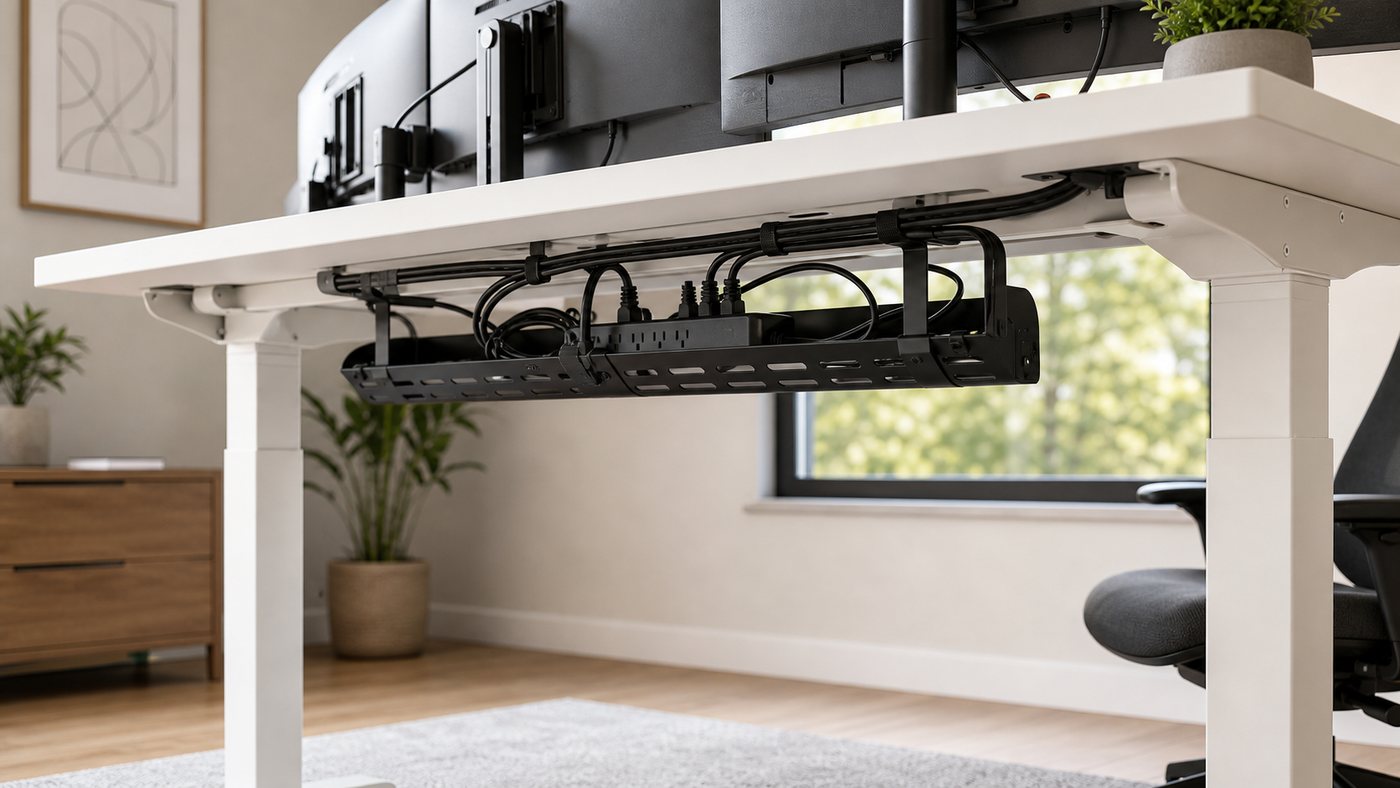
    A messy cable bundle can make even a nice desk feel unfinished. If your laptop charger, monitor cord, power strip, and USB hub all collect under your feet, an under desk cable management tray is one of the simplest upgrades you can make. It is a single product, usually mounted under the desk surface, that holds cables and a power strip off the floor so your home office looks calmer and is easier to clean.

    For small apartments, shared rooms, and compact home offices, this is especially useful. You do not need a full desk makeover. You just need a place for the cable mess to live.

    Check under desk cable management trays on Amazon

    Why an under desk cable management tray is worth it

    The best thing about this product is that it hides clutter without changing how your setup works. Your charger, power strip, monitor cable, and dock can stay plugged in. The tray simply lifts them into a cleaner, safer position under the desktop.

    That matters in a small home office because visual noise builds quickly. A clean desktop helps, but if the floor underneath the desk is crowded with cords, the whole area still feels busy. A cable tray solves the problem at the source.

    Best for small desks and apartment workspaces

    An under desk tray is a strong fit if your desk is against a wall, inside a bedroom, in a studio apartment, or in a multi-use living area. It keeps cables contained so the workspace can blend into the room instead of looking like a temporary tech station.

    It also makes routine cleaning easier. When cables are lifted off the floor, vacuuming or sweeping around the desk becomes less annoying. That sounds small, but it is exactly the kind of small-space upgrade that makes a room easier to live with every day.

    What to look for before buying

    1. Enough length for your power strip

    Before buying, measure your power strip and the space under your desk. Many trays are long enough for a standard power strip, but not all desks have the same clearance. A little measuring saves frustration later.

    2. Open design for airflow

    A tray with an open wire or ventilated design is usually easier to manage. It lets heat escape around power adapters and makes it simpler to thread cables in and out when you change your setup.

    3. Strong mounting hardware

    Look for a tray that feels sturdy and includes clear mounting hardware. If you rent or do not want to drill, check whether clamp-style options are available. If you own the desk and want the cleanest result, screw-mounted trays usually feel more permanent.

    4. Easy access after installation

    A cable tray should hide the mess, not trap it forever. Choose a design that still lets you reach plugs when you need to swap a charger, unplug a device, or reset a power strip.

    How to use it for a cleaner desk setup

    Start by unplugging everything and grouping cables by device. Place the power strip inside the tray first, then route each cable toward the device it powers. Use small hook-and-loop ties if you need to shorten extra cable length. Avoid pulling cables too tight, because a little slack makes future changes easier.

    If you already liked our guide on cable management ideas for a cleaner desk setup, this is the product that makes those ideas easier to maintain. Cable clips and sleeves help, but the tray gives the whole system a home.

    Who should skip it?

    This product may not be ideal if your desk has very thin material, unusual metal framing, or no clear mounting area underneath. It may also be unnecessary if you only use one laptop charger and nothing else. But if your desk has a monitor, lamp, dock, printer, speakers, or multiple chargers, the tray quickly becomes useful.

    SEO-friendly quick recommendation

    For most small home offices, choose a medium-length under desk cable management tray with an open design, sturdy mounting, and enough space for one power strip plus extra cable length. It is not the flashiest desk accessory, but it is one of the most practical.

    Bottom line: if you want one affordable product that makes a desk look cleaner fast, an under desk cable management tray is a smart place to start.

    Browse under desk cable management trays on Amazon

    FAQ

    Is an under desk cable management tray hard to install?

    Most are simple to install, but the difficulty depends on your desk and mounting style. Clamp-on trays are usually easier. Screw-mounted trays often look cleaner but take a little more time.

    Can I put a power strip in a cable tray?

    Many people use cable trays for power strips, but always follow the product instructions and avoid overcrowding adapters. Leave enough space for airflow and easy access.

    Will it work with a standing desk?

    Yes, but make sure the cables have enough slack for the desk to move up and down safely. A cable tray can be very helpful on standing desks because it keeps cords from dragging.

    Related desk organization guides

  • Travel Tech Organizer Essentials for Digital Nomads

    Travel Tech Organizer Essentials for Digital Nomads

    Affiliate disclosure: As an Amazon Associate I earn from qualifying purchases. This guide uses affiliate links to Amazon.com.

    A travel tech organizer keeps chargers, adapters, cables, and small accessories visible when a bag is opened. The best setup is compact enough for the trip, easy to inspect before checkout, and arranged so essential charging gear can be reached without unpacking the whole bag.

    Electronics organizer case

    A good tech case has elastic loops, mesh pockets, and enough depth for a charger block. Choose a slim case for backpacks and a hard case when gear may be crushed in luggage.

    Search electronics organizer cases on Amazon

    Reusable cable ties

    Cable ties stop cords from knotting together. They also make it easier to notice when a cable is missing before you leave a hotel or coworking space.

    Search travel cable ties on Amazon

    Power bank pouch

    A power bank should not float loose next to keys or pens. A pouch protects ports and keeps the charging cable with the battery.

    Search power bank pouches on Amazon

    USB-C cable organizer

    If most of your devices use USB-C, use one dedicated pouch or loop section for those cables. Separating USB-C from older cables reduces rummaging.

    Search USB-C cable organizers on Amazon

    FAQ

    What should go in a travel tech organizer?

    Pack only the cables and adapters used on that trip, plus one backup charging cable. Avoid carrying every cable you own.

    Is a hard shell organizer worth it?

    A hard shell is useful for checked luggage or camera-style gear. For a daily backpack, a soft slim organizer usually saves space.

    Build the Kit Around Your Devices

    List the devices you will actually use during the trip and write the connector beside each one. A phone, laptop, watch, headphones, and camera may require fewer cables than expected when several devices share USB-C. Pack by device and power requirement rather than taking every cable from a drawer.

    • Choose a charger with enough output for the largest device you plan to charge.
    • Check whether the destination requires a plug adapter or voltage converter.
    • Carry one dependable backup cable for the connector used most often.
    • Label similar-looking cables when their charging or data capabilities differ.

    What to Look for in an Organizer Case

    Start with the dimensions of the largest item, normally a charger or power bank. Elastic loops should hold cables without sharply bending the connectors. Mesh pockets are useful for adapters and memory cards, while a zippered pocket keeps very small items from escaping when the case is opened.

    A case with two shallow layers is often easier to scan than one deep compartment. A light-colored interior can make black adapters easier to see. If the organizer will live inside a carry-on, choose a size that can be removed quickly during security checks and returned to the same location afterward.

    Pack Power Banks Safely

    Airline and security rules for spare lithium batteries can change, so check the current requirements for every carrier before travel. Keep a power bank where its ports cannot be crushed by hard objects, and do not pack a battery that is swollen, damaged, unusually hot, or recalled. Avoid loose metal items near exposed connectors.

    Capacity markings should remain readable because airport staff may need to inspect them. For long flights and gaming devices, compare charging output as well as capacity in our guide to power banks for Steam Deck travel.

    Use a Consistent Packing Layout

    Give every item a permanent position. Place frequently used charging gear on one side and occasional adapters on the other. Wind cables in a loose circle instead of folding them sharply, then secure them with reusable ties. A small inventory card inside the case can prevent leaving an adapter in a hotel socket or a cable beside the bed.

    Pre-Departure Tech Check

    • Charge the power bank and all essential devices.
    • Test every cable with the device it is intended to charge.
    • Download offline tickets, maps, and authentication backup codes where appropriate.
    • Remove unnecessary memory cards or drives containing sensitive information.
    • Count the items when packing and repeat the same check before leaving each location.

    A travel organizer should reduce decisions, not become another heavy piece of luggage. When a cable or adapter has no planned use on the trip, leave it at home.

  • Kitchen Cabinet Organizers for Small Kitchens

    Kitchen Cabinet Organizers for Small Kitchens

    Affiliate disclosure: As an Amazon Associate I earn from qualifying purchases. This guide uses affiliate links to Amazon.com.

    Small kitchens rarely need more stuff. They need better use of height, corners, and awkward cabinet depth. The right organizer lets you see what you own before buying duplicates.

    Cabinet shelf risers

    Shelf risers double usable height for plates, mugs, bowls, and pantry goods. They are a low-risk first purchase because they can move between cabinets if your layout changes.

    Search cabinet shelf risers on Amazon

    Pull-out cabinet organizer

    Pull-out organizers help with deep lower cabinets where items disappear in the back. Measure width, depth, and pipe clearance before buying one for under the sink.

    Search pull-out cabinet organizers on Amazon

    Lazy Susan turntable

    A turntable works for oils, spices, condiments, vitamins, and cleaning supplies. It is especially useful in corner cabinets where reaching the back is annoying.

    Search turntable organizers on Amazon

    Food storage lid organizer

    Lids are a classic clutter problem because they slide, stack badly, and hide under containers. A vertical lid organizer makes matching containers faster.

    Search lid organizers on Amazon

    FAQ

    What organizer should I buy first for a small kitchen?

    Start with shelf risers if cabinet height is wasted. Start with a pull-out organizer if deep cabinets are the main problem.

    Are clear bins good for kitchens?

    Clear bins are helpful for pantry categories, but they should not replace measuring. A bin that is slightly too deep can waste space.

    Measure Before You Choose an Organizer

    Cabinet organizers are useful only when they fit the space and leave enough clearance for doors, hinges, plumbing, and nearby shelves. Measure the usable interior width, depth, and height rather than the outside of the cabinet. For a pull-out unit, also check the width of the door opening because the frame may be wider than the clear opening between hinges.

    • Width: measure at the narrowest point, including hinges and door hardware.
    • Depth: leave room for the cabinet door to close without pressing against handles or tall bottles.
    • Height: measure the tallest item you plan to store and include space to lift it out.
    • Load: heavy cookware needs a sturdier frame than spices, wraps, or plastic lids.

    Match the Organizer to the Storage Problem

    Begin by identifying what makes the cabinet frustrating. If you cannot see items in the back, a sliding basket or turntable improves access. If there is empty air above short items, a shelf riser uses vertical space. If small packages fall over, a bin or divided basket keeps categories together. Choosing by problem is more reliable than buying a matching set of organizers first.

    For upper cabinets, prioritize lightweight products that are easy to remove and clean. In lower cabinets, stability and full-extension access matter more. Under the sink, choose materials that tolerate occasional moisture and avoid blocking shutoff valves or the garbage disposal.

    Materials and Cleaning

    Metal organizers usually provide a rigid surface for plates, pans, and canned food, but coated finishes are preferable in damp areas. Plastic bins are easy to wipe clean and make it simple to group snacks or baking supplies. Bamboo can look warmer in an open cabinet, although it should be kept dry and may require more careful cleaning.

    Removable trays and baskets make routine cleaning easier. Avoid packing an organizer so tightly that crumbs and spills cannot be reached. A quick monthly reset is usually enough: remove expired food, wipe the shelf, and return only the categories that belong there.

    Common Small-Kitchen Organization Mistakes

    • Buying an organizer before measuring the door opening and shelf height.
    • Using deep bins for frequently used items, which recreates the same hidden-storage problem.
    • Stacking heavy cookware on a lightweight riser that can flex or shift.
    • Filling every empty space and leaving no room for groceries or changing routines.
    • Using several different systems for the same category instead of keeping similar items together.

    A Simple Setup Order

    Organize one cabinet at a time. Remove everything, discard expired items, group what remains by use, and place the most frequently used group between waist and eye level. Add one organizer only where the cabinet itself cannot solve the access problem. For small tools and baking items, our guide to magnetic measuring spoons offers another compact-storage option.

  • Small Apartment Entryway Organization Ideas

    Small Apartment Entryway Organization Ideas

    Affiliate disclosure: As an Amazon Associate I earn from qualifying purchases. This guide uses affiliate links to Amazon.com.

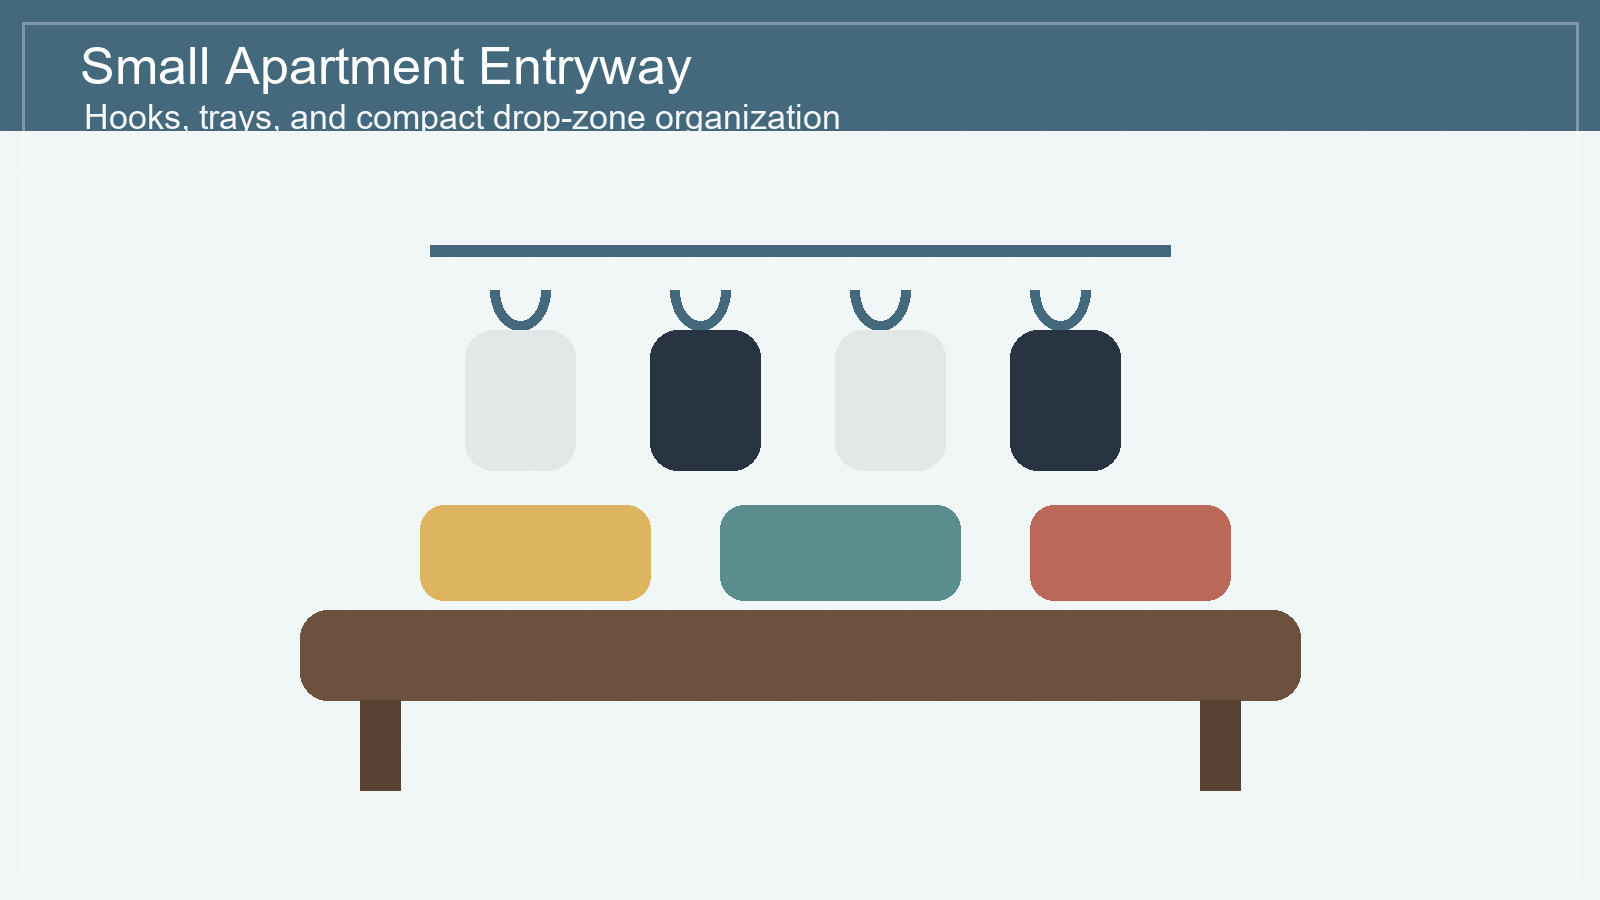
    A small entryway has to process shoes, keys, bags, mail, umbrellas, and daily clutter in a few square feet. The best products are slim, vertical, and easy to reset when you walk in.

    Slim shoe rack

    A narrow shoe rack keeps the floor visible and makes the entryway feel larger. Measure the depth carefully, especially if the door swings inward.

    Search slim shoe racks on Amazon

    Wall hooks

    Hooks are a renter-friendly way to get bags and jackets off chairs. Choose a rail-style hook rack when you need multiple landing spots in one clean line.

    Search entryway wall hooks on Amazon

    Key and mail organizer

    A key organizer works when it lives exactly where you enter the home. Look for a design with hooks, a mail slot, and enough clearance for sunglasses or a wallet.

    Search key and mail organizers on Amazon

    Storage bench

    If you have a little more space, a storage bench adds seating and hides seasonal shoes, reusable bags, or pet supplies. Avoid deep benches if the hallway is tight.

    Search small entryway benches on Amazon

    FAQ

    How do I organize an entryway with no closet?

    Use hooks for vertical storage, a slim shoe rack for the floor, and a small tray or wall organizer for keys and mail.

    What should not go in a small entryway?

    Long-term storage usually makes a small entryway feel blocked. Keep only the items used during the current week.

    Plan the Entryway Around Your Daily Route

    Before buying storage, notice what happens during the first minute after you enter the apartment. Shoes may collect beside the door, keys may land on the nearest surface, and bags may end up on a chair. Give each repeated action one obvious destination. A system that takes several extra steps is less likely to stay organized during a busy week.

    Keep the most frequently used items between knee and shoulder height. Reserve high shelves for seasonal accessories and the lowest level for shoes or a washable drip tray. Leave a clear path from the door into the room and make sure no organizer interferes with the handle, lock, light switch, or door swing.

    Measure the Walkway, Not Just the Wall

    A narrow rack can still feel intrusive if it reduces the walking path. Measure the entryway at its tightest point with the door fully open. Mark the proposed depth with painter’s tape on the floor and live with that outline for a day. You should be able to carry groceries through the space and put on shoes without turning sideways.

    • Check baseboards before choosing a wall-mounted or flush-to-wall unit.
    • Confirm that hooks will not place coats where they cover switches or scrape the door.
    • Allow ventilation around damp shoes and umbrellas.
    • For renters, verify the permitted wall fasteners and weight limits.

    Create Simple Storage Zones

    A compact entryway works best with three zones. The drop zone holds keys, sunglasses, and outgoing mail. The hanging zone holds the jacket or bag currently in use. The floor zone holds only everyday shoes. Separating these categories prevents a single basket from becoming a mixture of receipts, cables, pet supplies, and items that belong elsewhere.

    Use a small tray for loose objects rather than a large open bowl. The limited capacity acts as a reminder to reset the space. Mail should have only two destinations: an action slot for items that need attention and recycling for everything else.

    Choose Between Open and Closed Storage

    Open racks are easier to use and help wet shoes dry, but they require a quick visual reset. Closed cabinets reduce visual clutter, although they need enough ventilation and clearance for doors or drawers. A bench with concealed storage can work in a wider entry, while a wall rail and narrow rack are usually more practical in a tight corridor.

    A Five-Minute Weekly Reset

    Return shoes that are out of season, move processed mail, empty reusable bags, and wipe the key tray. Check that hooks and wall fasteners remain secure. This short routine keeps a small entryway functional without turning it into a long-term storage area. For more small-space ideas, see our guide to kitchen cabinet organizers for small kitchens.

  • Cable Management Ideas for a Cleaner Desk Setup

    Cable Management Ideas for a Cleaner Desk Setup

    Affiliate disclosure: As an Amazon Associate I earn from qualifying purchases. This guide uses affiliate links to Amazon.com.

    Good cable management makes a desk easier to clean, keeps charging cords within reach, and reduces accidental pulling on plugs. The goal is not to hide every wire; it is to create clear routes that remain safe and easy to change when equipment moves.

    The simple cable cleanup system

    1. Group cables by device.
    2. Hide the power strip.
    3. Lift extra cable length off the floor.
    4. Label cables you unplug often.

    Cable management box

    A cable box hides the power strip and bulky adapters. It works best beside a desk, TV stand, or nightstand where the power strip cannot be mounted underneath.

    Search cable management boxes on Amazon

    Under-desk cable tray

    A tray is better than a box when your power strip stays under the desk. Look for metal construction, strong clamps or screws, and enough width for larger adapters.

    Search under-desk cable trays on Amazon

    Adhesive cable clips

    Cable clips keep charging cords from sliding to the floor. They are cheap, small, and easy to place near the edge of a desk or nightstand.

    Search adhesive cable clips on Amazon

    Reusable cable ties

    Reusable hook-and-loop ties are better than zip ties for a desk setup because you can change the layout later. They are also useful for travel bags and drawers.

    Search reusable cable ties on Amazon

    FAQ

    Is a cable box or cable tray better?

    Use a box when the power strip sits on the floor or beside furniture. Use a tray when the power strip can live under the desk.

    How do I make cable management look clean?

    Keep cables in straight runs, bundle extra length, and avoid mixing black and white cords in visible areas when possible.

    Related desk organization guides

    Map the Cable Route Before Attaching Anything

    Unplug nonessential equipment and place every device where it will normally be used. Identify the outlet, power strip, and the point where each cable reaches the desk. Keep power cables and frequently handled charging leads in separate groups so one can be moved without disturbing the other.

    Leave a small service loop near monitors, laptops, and adjustable arms. A cable pulled completely tight can stress a connector when the screen or desk moves. Extra length should be bundled in a loose loop and supported in a tray rather than hanging from the port.

    Cable Safety and Airflow

    • Do not place a power strip inside a sealed container unless the product and its instructions allow that use.
    • Keep adapters and power supplies away from liquids, fabric piles, and places where heat cannot escape.
    • Never route a cable where a chair wheel, door, or desk mechanism can pinch it.
    • Replace damaged cables instead of hiding worn insulation inside a sleeve.
    • Follow the power strip manufacturer’s load limits and avoid connecting power strips to one another.

    Fixed Desks and Sit-Stand Desks Need Different Plans

    For a fixed desk, the shortest clean route usually runs from the desktop to a tray or power strip mounted beneath it, then down one desk leg to the wall outlet. A sit-stand desk needs enough slack for its full travel. Raise and lower the desk while watching every cable before fastening the final bundle.

    Mount the computer and power strip to the moving part of the desk when practical so fewer cables need to flex. Keep one controlled vertical bundle for the connection to the wall and make sure it cannot catch on drawers or frame components.

    Using Adhesive Clips Without Damaging Surfaces

    Clean the mounting area and let it dry completely before applying adhesive. Test a hidden area first, especially on painted, veneered, or delicate furniture. Clips work best for light charging cables; a heavy power strip or large adapter should use hardware designed for its weight.

    Plan the position before removing the backing because repeatedly lifting an adhesive pad weakens it. Leave the adhesive undisturbed for the curing time specified by its manufacturer before loading the clip.

    Label Cables at the Useful End

    Label cables near the power strip when several similar plugs need to be disconnected. Labels such as monitor, lamp, laptop dock, and speaker are more useful than device model numbers. At the desk edge, small clips can keep only the charging leads used every day accessible while the rest remain below.

    Maintain the Setup

    Check the cable route whenever a device is added or removed. Remove abandoned chargers, wipe dust from the power area, and confirm that ties are not crushing cables. A system that can be opened and changed is more useful than a perfect-looking bundle that has to be cut apart.

  • Best Desk Organization Products for Small Home Offices

    Best Desk Organization Products for Small Home Offices

    Affiliate disclosure: As an Amazon Associate I earn from qualifying purchases. This guide uses affiliate links to Amazon.com.

    A small home office gets messy quickly because every item is close to your hands: cables, chargers, notebooks, coffee, headphones, receipts, pens, and the tools you use between meetings. The best desk organization products are not the fanciest accessories. They are the pieces that remove daily friction, make your workspace easier to clean, and help you reset the desk in less than two minutes.

    This guide is the main Intuit Chaos hub for small home office desk organization. If you are starting from zero, begin here, then use the related guides for deeper decisions on cable trays, cable boxes, foot rests, lighting, and movement-friendly desk upgrades.

    Quick picks by problem

    • Visual clutter: start with a monitor stand with storage or a desktop file sorter.
    • Cables under the desk: use an under-desk tray and route only the cables you truly need.
    • Power strip mess: use a cable management box on the floor or side table.
    • Back and leg comfort: add an ergonomic foot rest before buying another chair.
    • Reading or evening work: choose a warm rechargeable book light or compact desk lamp.

    The best order to organize a small home office

    Most people buy desk organizers in the wrong order. They start with trays and containers, then discover that the biggest problem is actually cable routing, monitor height, or a lack of reach zones. A better system is to organize by function.

    1. Clear the surface first. Remove everything that does not need to live on the desk every day.
    2. Lift the screen. A monitor stand creates storage underneath and improves posture.
    3. Route power once. Decide where the power strip should live, then hide the excess cable length.
    4. Create a daily reset zone. Keep notebooks, pens, and small tools in one predictable place.
    5. Add comfort last. Once the desk is clear, add a foot rest, lamp, or under-desk movement tool.

    1. Monitor stand with storage

    A monitor stand with storage is one of the fastest upgrades for a small desk because it solves two problems at once: screen height and surface clutter. The right stand should lift your screen close to eye level while leaving space for a keyboard, notebook, or dock underneath.

    For small home offices, avoid oversized risers that steal too much width. Look for a stand with open space underneath, stable legs, and enough clearance for your keyboard. If you use a laptop as a second screen, pair the stand with a separate laptop riser or vertical laptop holder.

    Check monitor stands with storage on Amazon

    2. Under-desk cable tray

    If cables are the main reason your workspace feels chaotic, an under-desk cable tray should come before decorative organizers. A good tray holds the power strip and heavy cable loops below the desktop, so only short, intentional cables come up to your devices.

    For installation details, see our dedicated guide to the under desk cable management tray for small home offices. If you want the full cleanup workflow, use the cable management ideas for a cleaner desk setup guide as the step-by-step companion.

    Browse under-desk cable trays on Amazon

    3. Cable management box

    A cable box is best when your power strip must stay on the floor, a side table, or behind a cabinet. It hides the bulky part of the setup while still letting you access plugs when you need them. This works especially well for renters who do not want to drill into a desk.

    Choose a box with enough ventilation, side exits for cables, and a lid that is easy to lift. For floor setups, a heavier box is usually better because it stays in place when cables move. Read the focused guide: best cable management box for messy desk cords.

    Browse cable management boxes on Amazon

    4. Drawer organizer or desktop tray

    Small loose items are the quiet source of desk clutter. A drawer organizer works well if your desk has drawers. If it does not, use one shallow desktop tray for pens, sticky notes, adapters, and small tools. The goal is not to hide everything. The goal is to give tiny items one home.

    Keep this category simple. One organizer is usually enough. If you need three trays to manage daily tools, the real problem is that too many things are living on the desk.

    Check desk drawer organizers on Amazon

    5. Ergonomic foot rest

    A cleaner desk is useful, but comfort is what keeps the workspace usable. If your feet do not rest flat on the floor or your chair height is set for the desk rather than your body, a foot rest can reduce fidgeting and lower-back strain.

    For a deeper buying checklist, see our guide to the best under desk foot rest for lower back pain. If you also want light movement while seated, compare it with our guide to under desk ellipticals for seniors.

    Browse ergonomic foot rests on Amazon

    6. Desktop file sorter

    Paper clutter is different from accessory clutter because it often represents unfinished decisions. A vertical file sorter is better than a flat pile because it makes active paperwork visible without spreading it across the desk.

    Use three sections only: action, reference, and archive. If a file sorter grows beyond that, move long-term documents away from the desk and keep the work surface for current tasks.

    Check desktop file sorters on Amazon

    7. Compact light for evening work

    A small light can make a desk feel calmer at night, especially if your main room lighting is harsh. For shared bedrooms or small apartments, a rechargeable amber book light can be more practical than a full desk lamp.

    See our guide to the best rechargeable book light for reading in bed if you want a low-glare option that also works for notebooks, planners, and late-night reading.

    Browse rechargeable reading lights on Amazon

    How to choose without overbuying

    Before buying anything, take one photo of your desk at the end of a normal workday. The photo will show which problem is actually costing you attention. If the desktop is clear but the floor is messy, start with cable management. If the floor is clean but the desk is covered in small tools, start with a tray or drawer organizer. If the desk looks fine but your body feels tired, start with comfort.

    For a broader upgrade plan, read Top 10 Home Office and Smart Home Upgrades for 2026. Use that article when you are ready to move beyond organization into ergonomics, audio, smart lighting, and everyday automation.

    Common small-office organizing mistakes

    The most common mistake is buying storage before deciding what should stay on the desk. Storage products can hide clutter, but they cannot fix an unclear workflow. Before adding another container, decide which items are daily tools, which items are weekly tools, and which items should live somewhere else.

    The second mistake is solving cable clutter only on the desktop. A neat charging cable still creates visual noise if the power strip, wall plug, and extra cable length are messy below the desk. That is why the best setup usually combines a cable tray, a cable box, and a few reusable ties instead of relying on one product.

    The third mistake is ignoring comfort. A desk can look organized and still feel tiring. If your feet dangle, your monitor is low, or your lamp causes glare, you will keep shifting items around without solving the real problem. Good organization should make the desk easier to use, not just easier to photograph.

    Related home office guides

    Final recommendation

    If you only buy three desk organization products, make them a monitor stand with storage, an under-desk cable tray, and a simple drawer organizer or desktop tray. That combination handles the largest sources of clutter without turning your workspace into a storage project.