As an Amazon Associate I earn from qualifying purchases.
A small home office does not need a long shopping list. It needs a plan that gives each essential object a job and leaves enough clear space for you to work comfortably. The most effective setup starts with the desk you already have, then adds only the pieces that solve a real problem: poor screen position, messy cables, awkward storage, or difficult lighting.
Use this small home office setup checklist to build a workspace in a logical order. Work through the free layout changes first. Once the room works, you can decide which accessories are genuinely worth adding.
1. Start with the usable desk surface
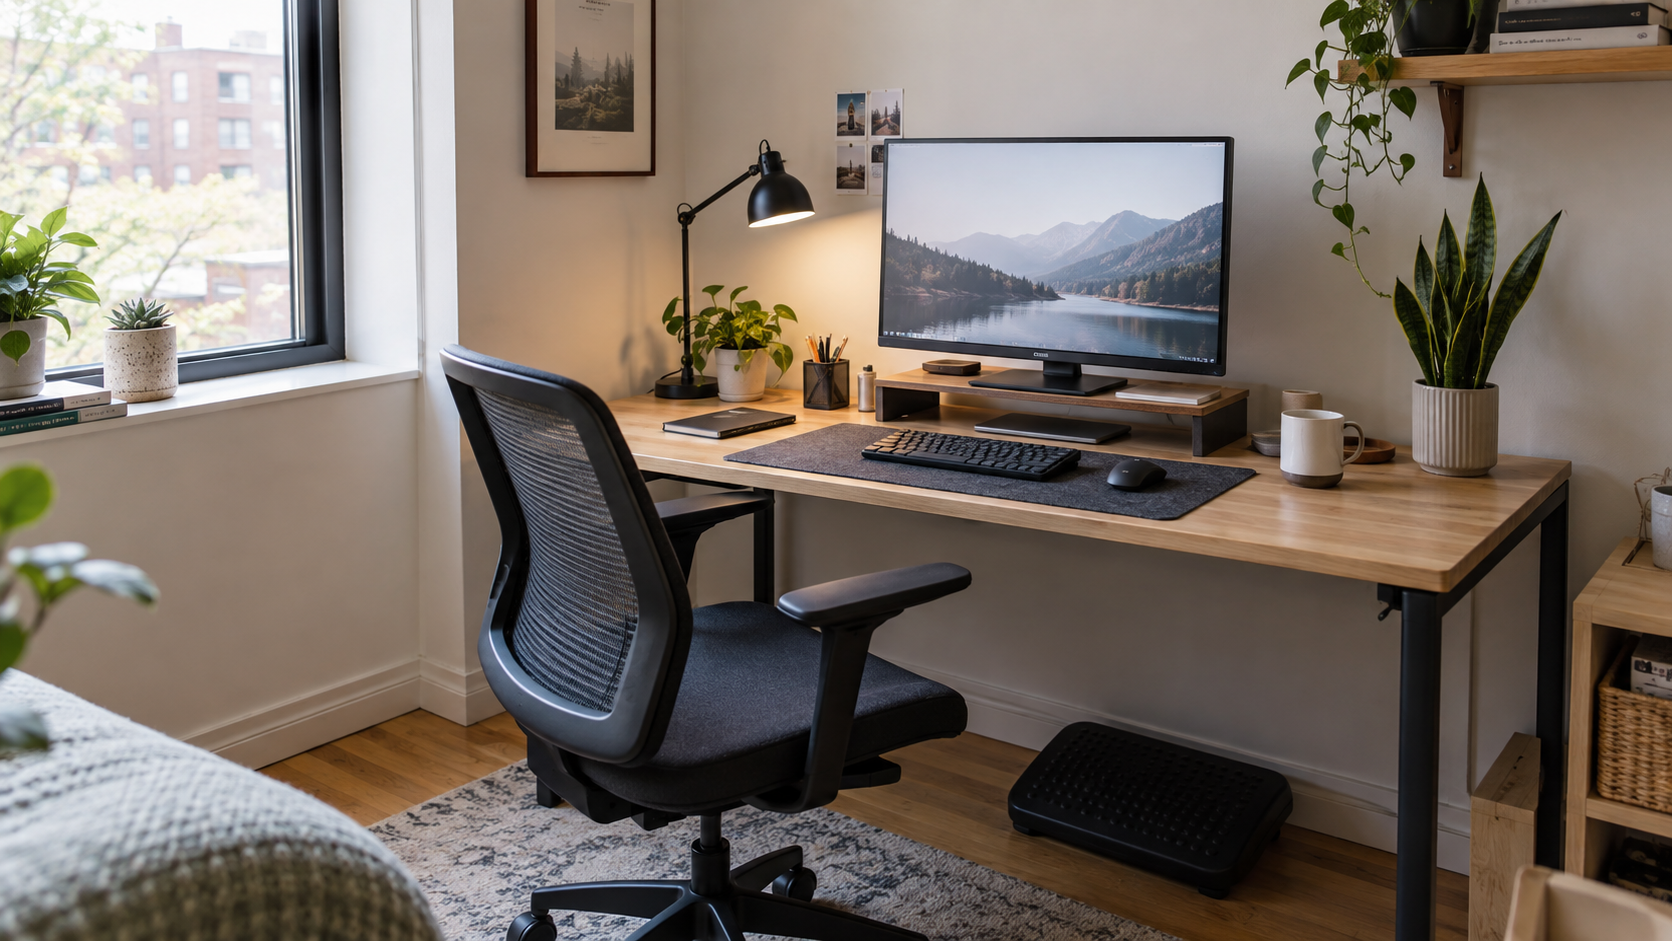
Before buying anything, clear the desk and identify the usable work area. That is the space left after a monitor base, lamp, charging dock, and any fixed shelf take their place. Measure the width and depth, then decide where the keyboard, mouse, notebook, and drink will normally sit.
Give the most frequently used items the easiest reach. A small desk feels much better when it has a defined typing zone and one flexible zone for notes or a tablet. If your desk has no built-in storage, use the ideas in our small desk organization guide before filling the surface with containers.
2. Position the monitor before adding accessories
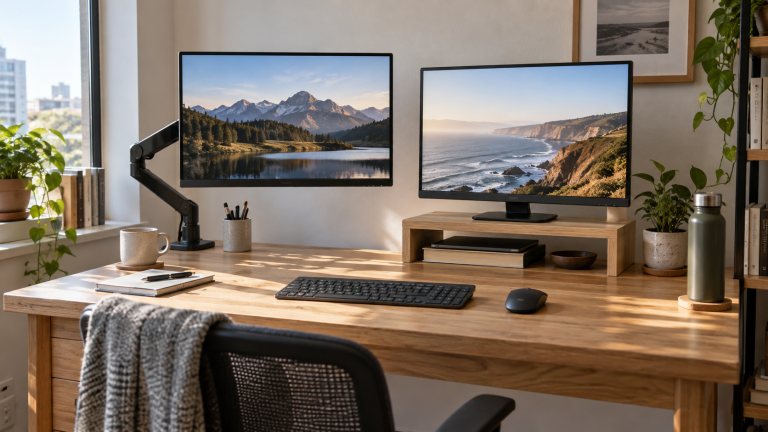
The monitor is usually the largest object on a home-office desk, so it determines the rest of the layout. Put it where you can see it without twisting, and leave enough room at the sides for everyday tasks. A stand can create useful storage below the display; an arm can free the desk surface and make minor position changes easier.
Choose based on the actual footprint of your desk, not a generic ideal. Our monitor arm vs. monitor stand comparison explains what each approach changes on a compact setup. If you are still choosing a display, compare the trade-offs in our small-desk monitor size guide.
3. Put daylight to the side of the screen
Light placement is easier to fix early than after the desk fills up. Aim to put the monitor roughly at a right angle to a window, so daylight comes from the side. This reduces the chance that you will stare into a bright window or see its reflection in the display.
Use a shade, curtain, or blind to soften direct sun when needed. A desk lamp should light the notes and keyboard, not point into the screen. If bright reflections are already distracting you, use our screen glare guide to adjust the room before you buy a special accessory.
4. Define a keyboard-and-mouse zone
A desk mat is optional, but a defined work zone makes a small desk easier to reset at the end of the day. It gives the keyboard and mouse a consistent home while leaving the edges free for a notebook, drink, or phone. The right size is usually not the biggest mat that fits; it is the smallest one that supports your normal mouse movement.
Measure the usable center area before ordering. Our desk mat size guide shows how to preserve a useful margin around the mat rather than covering the whole desk.
5. Route cables where they can move safely
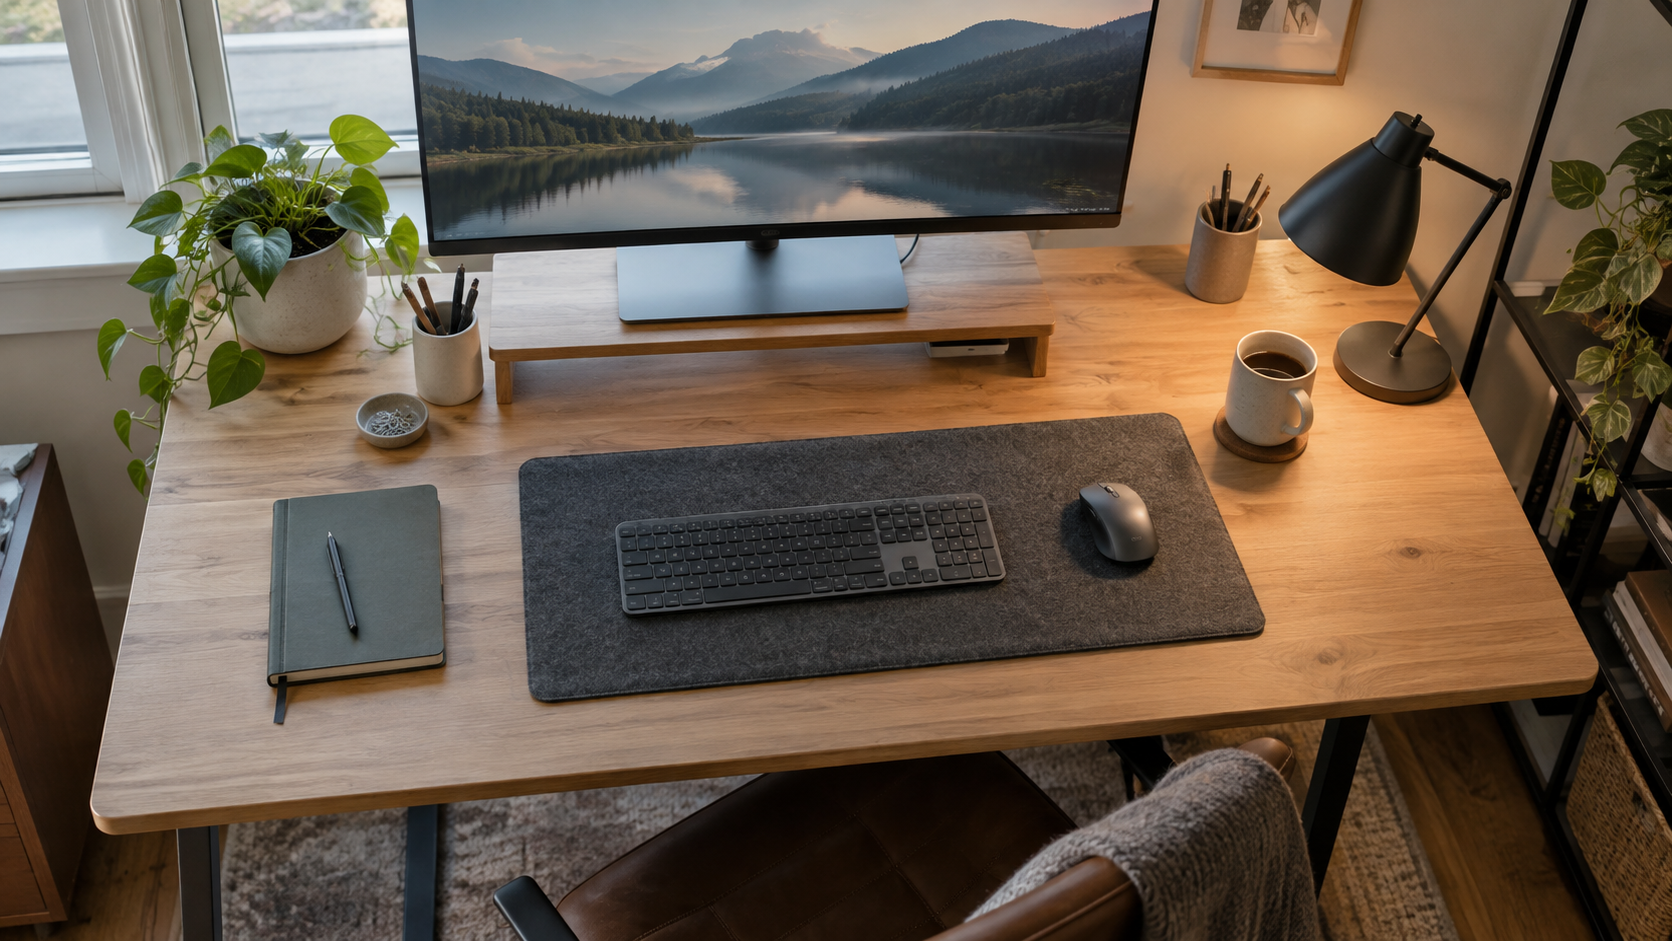
Cables are easiest to manage while the desk is mostly empty. Group power and data cords behind the monitor, then guide them toward one edge instead of letting them cross the typing area. Use simple clips, ties, or a tray only where they make cleaning and moving the desk easier.
Do not create a tightly packed bundle that is hard to inspect later. Leave a little slack for a monitor adjustment and label a plug only if it saves you real time. The practical sequence is explained in our cable management basics.
6. Add storage below or beside the desk, not on top of it
Small desks run out of horizontal space quickly. Keep rarely used supplies in a nearby drawer, shelf, or under-desk solution so the surface remains available for work. The best storage solution depends on whether you need legroom, a standing-desk range of motion, or quick access to equipment.
For an adjustable desk, check height and movement before attaching anything underneath. Our standing-desk storage guide covers the fit checks that prevent a useful organizer from becoming an obstacle.
7. Make a quick comfort check
Sit in your normal working position and look for friction points: a monitor that is too low, a lamp that causes glare, a mouse that runs out of space, or a cable that catches on your feet. Resolve one friction point at a time. A footrest may be useful when your feet need a stable place to rest, but it should support the way you sit rather than force a new posture.
Comfort comes from the relationship between the chair, desk, screen, and floor. Tiny adjustments can be more valuable than adding another large item to the room.
8. Keep a reset routine
End the workday by returning the keyboard and mouse to their zone, clearing cups and loose papers, and plugging in only what you will use tomorrow. This short reset makes a small office feel more intentional and gives you a clean starting point the next morning.
Small home office setup checklist
- Measure the clear desk surface and identify fixed obstacles.
- Place the monitor first, then test its height and angle.
- Use side daylight and aim task lighting at the work surface.
- Reserve a keyboard-and-mouse zone with enough mouse travel.
- Route cables behind or beneath the desk with room for adjustments.
- Move storage off the work surface where possible.
- Check comfort while seated and remove the biggest friction point.
- Keep a simple end-of-day reset routine.
Final thought
A small home office becomes more useful when the layout does the hard work. Start with desk space, monitor position, light, and cables. Add accessories only where they support a clear problem. That approach creates a workspace that feels calmer, easier to maintain, and ready for real work.
Leave a Reply