As an Amazon Associate I earn from qualifying purchases.
A coffee grinder can sound much louder in an apartment than it does in a larger home. Hard counters, nearby walls, cabinets, and shared floors can amplify vibration, especially early in the morning. The good news is that several small changes can make the routine less disruptive without changing the way you brew coffee.
This guide focuses on practical ways to make a coffee grinder quieter in an apartment. Start with placement and vibration control, then work through maintenance and habits. These steps will not turn every grinder silent, but they can reduce the sharp rattle and low-frequency hum that travel through a small kitchen.
Identify what is making the noise
Grinder noise has more than one source. The motor and grinding mechanism create the direct sound, while the counter and cabinet can act like a speaker by carrying vibration. A loose lid, an uneven base, an empty bean hopper, or a full grounds bin can add a rattle of its own.
Run the grinder once when the kitchen is quiet and listen for the dominant sound. A high-pitched grinding sound calls for different expectations than a low thump passing through the counter. This quick check helps you choose the change most likely to matter.
Move the grinder away from edges and shared walls
Start with the simplest adjustment: place the grinder on a stable, level part of the counter. Keep it away from the counter edge, which can vibrate more easily, and avoid pressing it directly against a backsplash or side wall. A few inches of space can reduce the transfer of vibration into the room.
Do not run a grinder inside a closed cabinet unless its manufacturer explicitly allows it. The appliance needs its normal ventilation and a stable surface. The goal is to reduce resonance around the grinder, not to trap heat or make access difficult.
Use a dense layer under the base
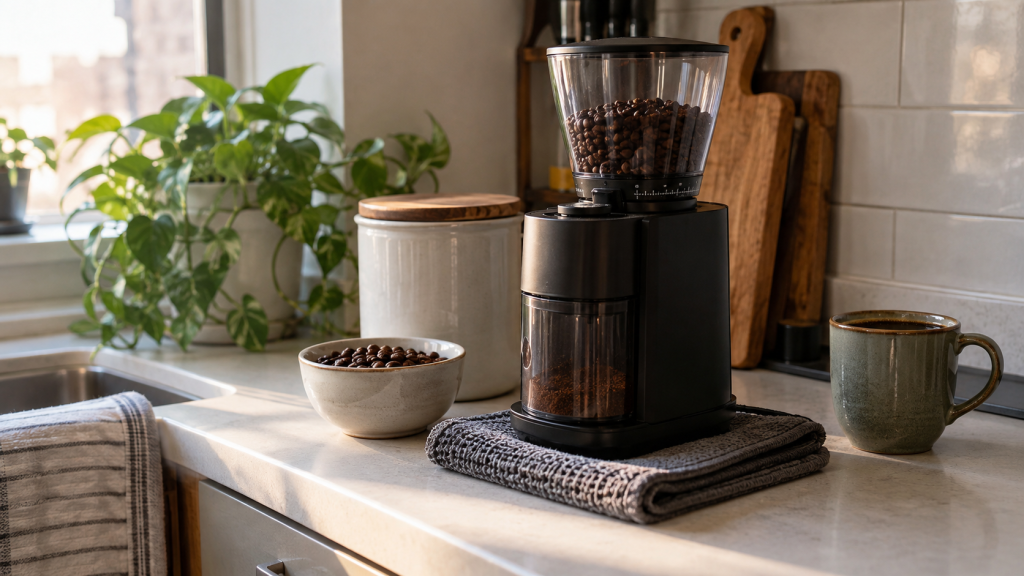
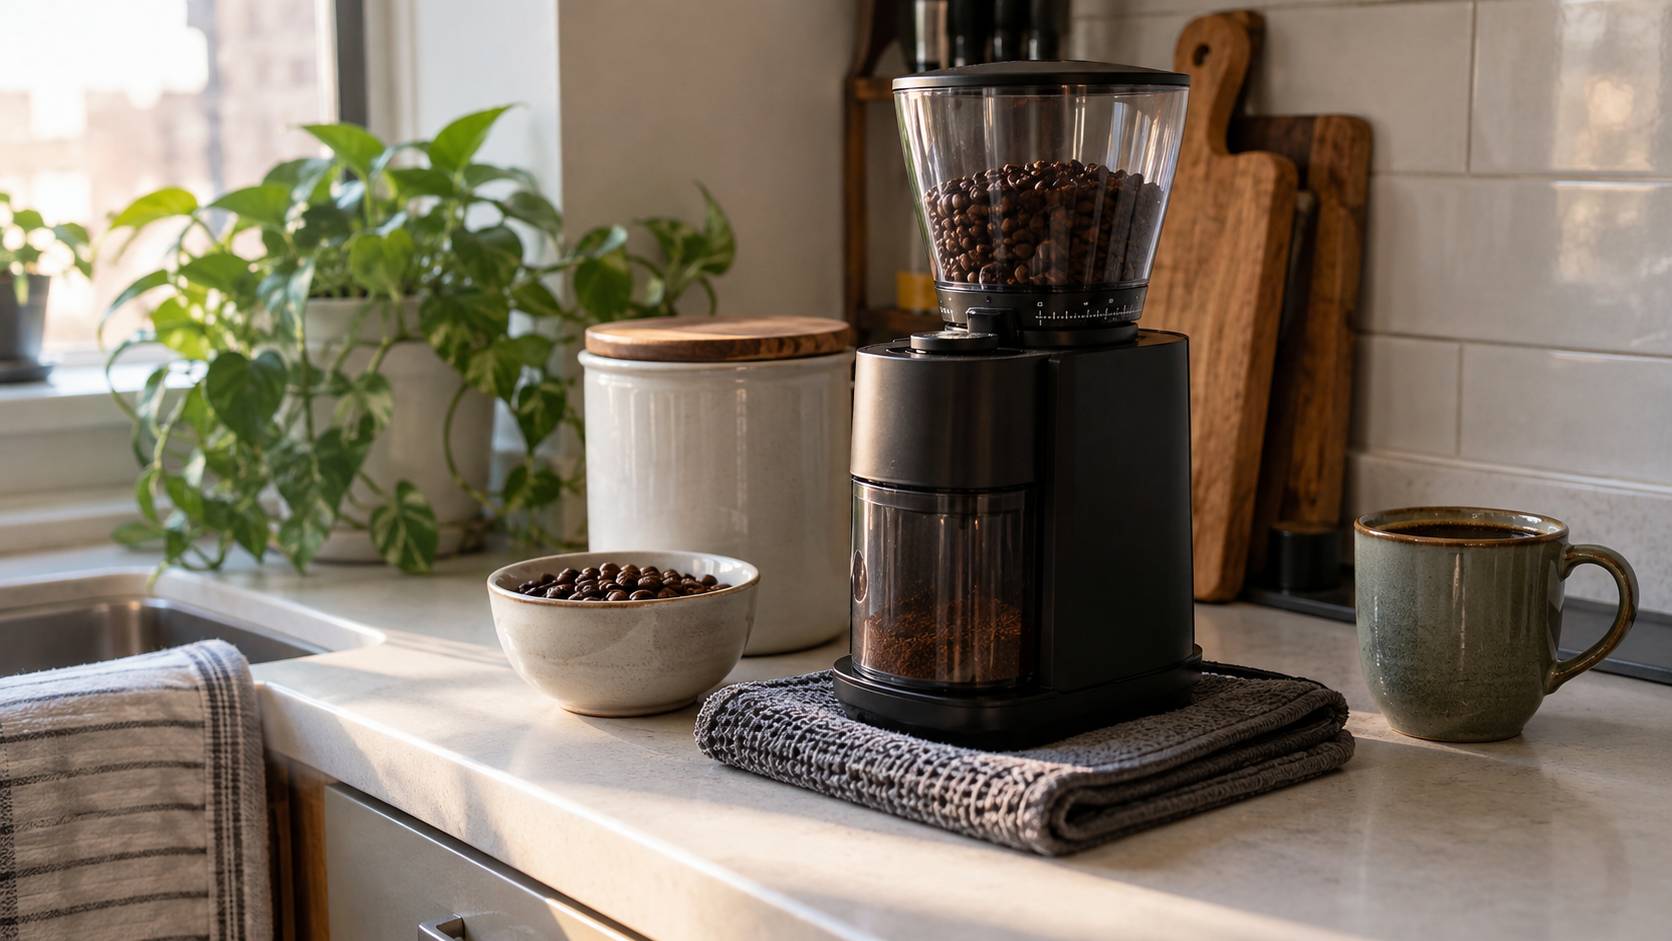
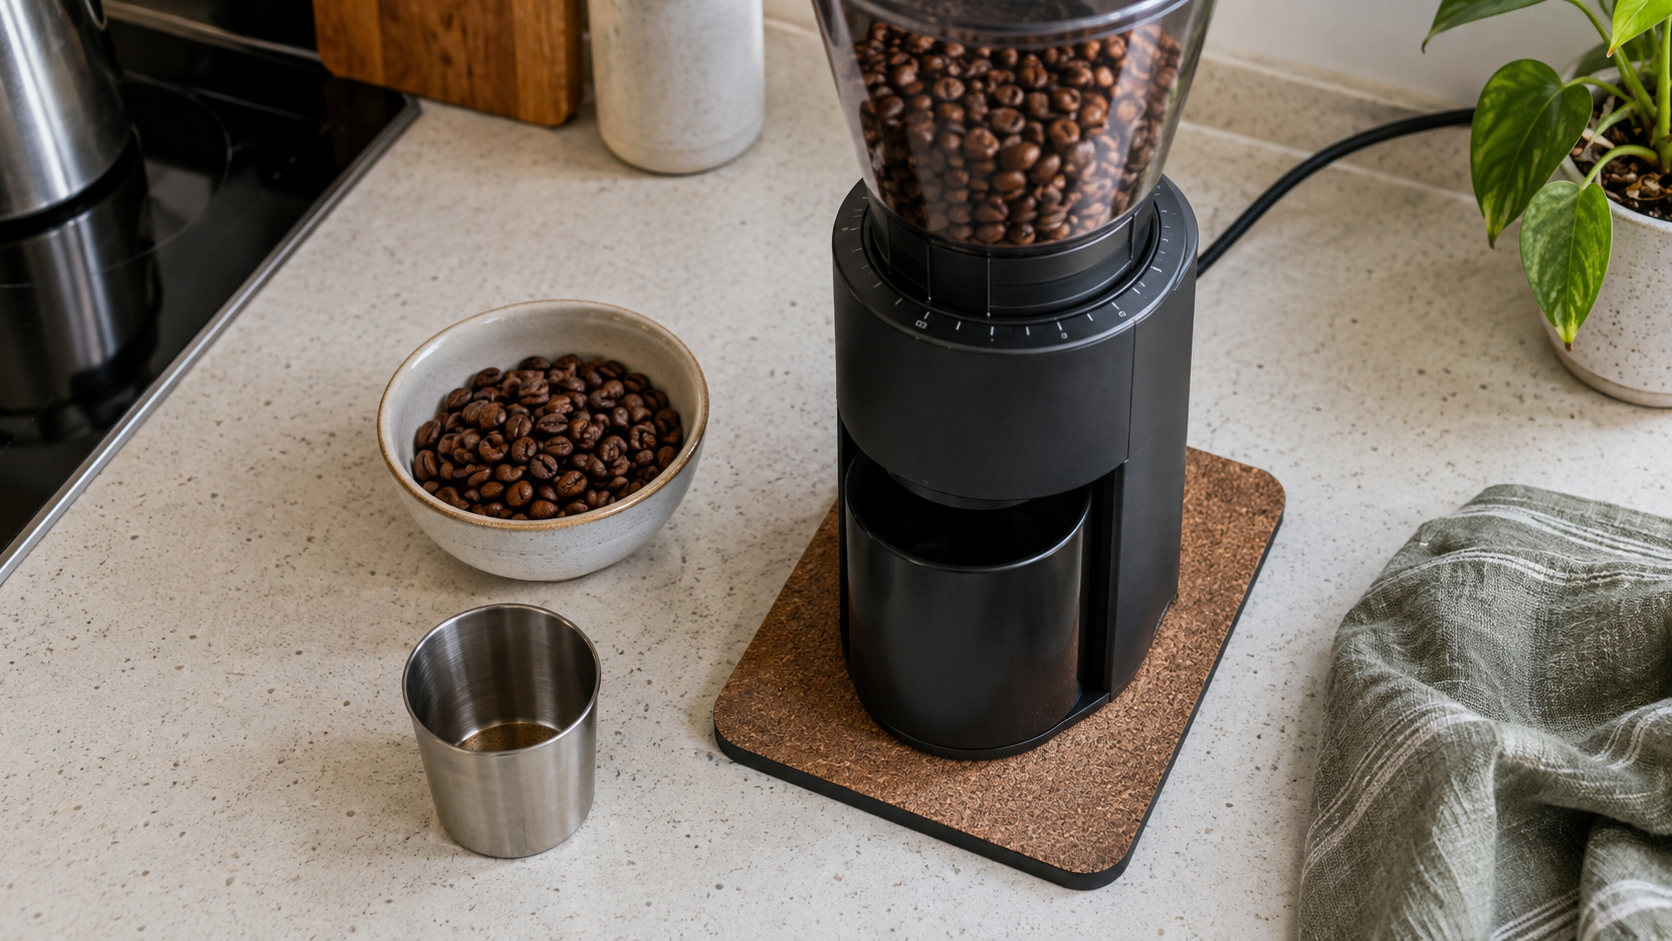
A thin, dense material under the grinder can reduce the vibration that reaches a hard countertop. Rubber, cork, or a purpose-made vibration pad can work well when it sits flat and does not make the appliance wobble. A folded towel may be a useful short test, but use a stable option for a regular setup.
Choose a layer that is slightly larger than the grinder base and keep it dry and clean. If the pad becomes uneven, replace or reposition it. An unstable base is not safer or quieter.
Check the parts that can rattle
Before buying an accessory, make sure the hopper, lid, grounds bin, and any removable cup are seated properly. Small gaps can create a surprising amount of extra noise. Unplug the grinder before inspecting it, then follow the manufacturer’s cleaning and reassembly instructions.
Old grounds can also keep a bin or chute from closing cleanly. A light routine of emptying the grounds bin and brushing away loose residue can help the machine operate as intended. Do not alter the grinder housing, defeat safety switches, or use a modification that the manufacturer has not approved.
Grind only what you need for that brew
A compact apartment routine benefits from small, repeatable batches. Measure the beans you plan to brew, then grind that amount rather than letting the grinder run longer than necessary. This does not change the motor volume, but it keeps the noisy part of the routine brief and predictable.
Set up the scale, filter, and brewer before grinding so you do not need to run the grinder a second time. Keeping measuring tools in one easy-to-reach spot can make the whole routine smoother. For ideas on organizing small tools, see our magnetic measuring spoons guide.
Use timing and room layout to your advantage
When possible, grind after closing the kitchen door, before opening windows near neighbors, or at a time when household activity already creates a little background sound. These are courtesy habits rather than technical fixes, but they matter in close quarters.
Try not to build a coffee station directly beside the bedroom wall if you have another workable counter. In a small kitchen, even moving the grinder to the far end of the counter can change how sound travels. Keep the surrounding area clear so the station is easy to reset after every use. Our small-kitchen cabinet organizer guide can help move supplies off the counter without burying them.
Consider the grinder only after the free fixes
Some grinders are inherently quieter than others, but a new appliance is rarely the first solution worth trying. Test placement, a stable vibration layer, clean assembly, and a short measured dose first. If the direct motor noise is still the main issue after those changes, a quieter model may make sense for your routine.
Our quiet coffee grinder roundup is a useful next step when you want to compare options rather than troubleshoot the one you already own.
A quick quiet-grinding checklist
- Use a level counter location away from edges and shared walls.
- Place a flat, dense vibration layer under the grinder base.
- Confirm the hopper, lid, and grounds bin are seated securely.
- Clean loose grounds according to the manufacturer’s instructions.
- Measure one brew’s worth of beans before turning the grinder on.
- Keep the noisy part of the routine short and planned.
- Never cover vents or alter appliance safety features to reduce sound.
Final thought
Quieter coffee grinding is usually a matter of reducing vibration and removing unnecessary rattles. A stable location, a simple pad, clean parts, and a prepared routine can make a noticeable difference in an apartment. Start with the free adjustments, then add a small accessory only when it solves a problem you have actually observed.
Browse coffee grinder vibration-control accessories on Amazon

Leave a Reply