Disclosure: This article may contain an affiliate link. If you buy through it, Intuit Chaos may earn a commission at no extra cost to you.
A monitor stand can make a small desk feel calmer and more usable, but the right choice is not simply the tallest or widest model. A stand changes the height of your screen, uses part of the desktop, and can either create useful storage or introduce a new obstacle. The best approach is to measure first, then match the stand to the way you actually work.
1. Start with the desk, not the product photo
Measure the usable width and depth of your desk before comparing monitor stands. Leave room for the keyboard, mouse movement, and a notebook or drink if those are part of your normal day. A stand that looks compact in a product photo may feel oversized when its feet or side shelves reach into your working zone.
For a small desk, write down three numbers: total desk width, the clear depth between the wall and the front edge, and the width of the monitor base. These measurements make it much easier to rule out options that will crowd the surface.
2. Check the monitor base and weight limit
Most desk risers are designed for a monitor sitting on its original base. Compare the stand’s advertised weight limit with the monitor’s weight, then give yourself a sensible margin. A heavy ultrawide display, a large all-in-one computer, or a second screen can change the requirements quickly.
Also look at the shape of the monitor base. A wide V-shaped base needs a deeper platform than a small rectangular base. If the base hangs over the edge, choose a different option rather than relying on a careful balancing act.
3. Choose a height that helps your posture without forcing it
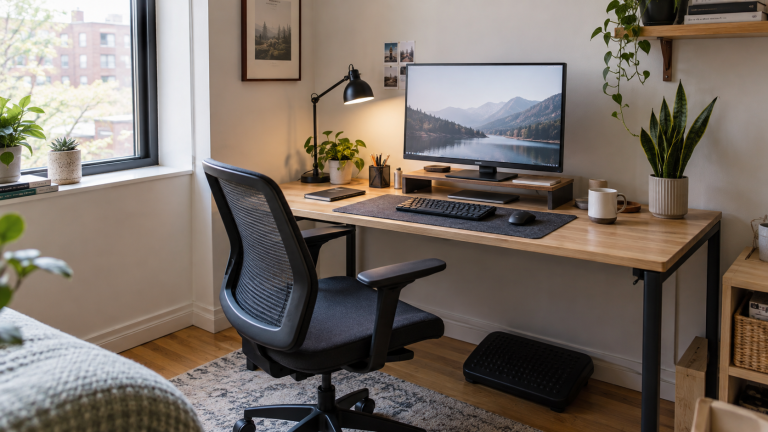
The goal is a screen position that feels natural when you sit comfortably, not a desk that looks dramatic. When you look straight ahead, your eyes should land around the upper portion of the display. Your exact preference will vary with chair height, screen size, glasses, and the kind of work you do.
A fixed riser works well when one person uses the desk most of the time. An adjustable stand is more flexible for shared spaces, but check that its legs, clamps, or adjustment mechanism do not consume more room than the fixed model would.
4. Decide whether the space underneath will be useful
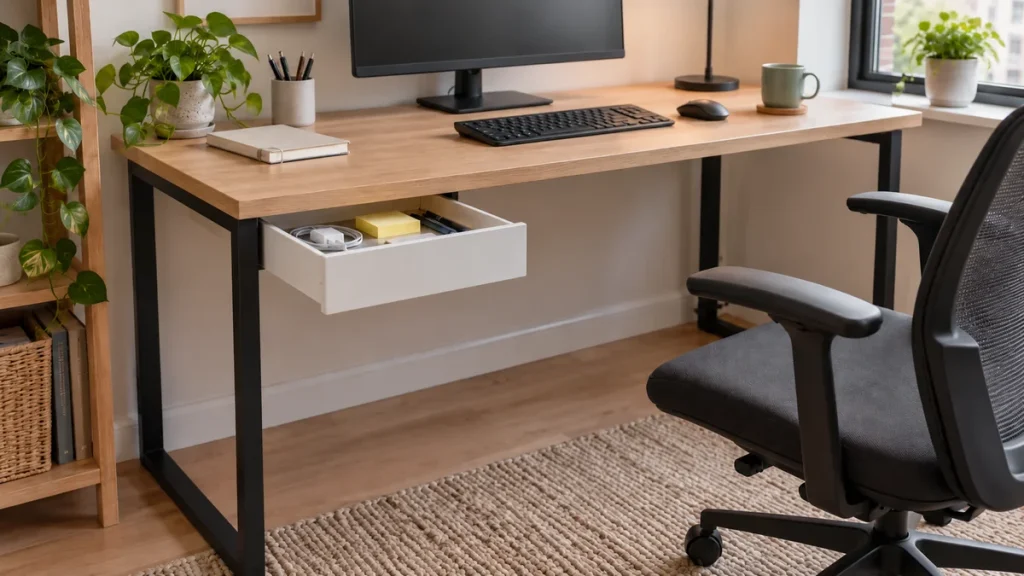
Storage is one of the strongest reasons to use a monitor riser on a small desk. The open space underneath can hold a keyboard after work, a slim notebook, a docking station, or a few supplies. Treat that storage as a planned zone, though. If you fill it with loose items, the desk can become harder to clean and cables can become harder to reach.
Before buying, place the items you want to store together and measure their height and width. This simple test tells you whether an open riser, drawer-style stand, or basic shelf is the better fit.
5. Think about cable paths early
A monitor stand changes where cables fall. Look for an open rear edge or enough clearance to route a power cable, display cable, and charging cable without bending them sharply. If the stand sits flush against the wall, leave a small gap behind it so the cables are not pinched.
Keep the monitor’s power adapter accessible. A tidy desk is helpful, but hiding a power brick so completely that you cannot inspect it or unplug it easily creates a different kind of friction.
6. Match the material to your desk routine
Wood risers can feel warm and sturdy, while metal stands are often slimmer and easier to wipe clean. Glass may suit a minimal setup, but it shows dust and fingerprints more readily. There is no universal winner: choose the material that matches the desk surface, the amount of cleaning you want to do, and the weight of the equipment.
Pay attention to non-slip feet or protective pads. They help prevent the stand from sliding and reduce the chance of rubbing the desktop finish over time.
7. Leave room for the next small upgrade
A monitor stand is often the first step in a better desk setup. You may later add a desk lamp, laptop stand, cable tray, webcam, or compact speakers. A simple riser with a little open space at the sides is usually easier to build around than a highly specialized model with fixed compartments.
That does not mean you need to buy for every possible future scenario. It simply means avoiding a stand that uses every available inch on day one.
A quick decision checklist
- Does the platform comfortably support your monitor base and its weight?
- Will the total depth still leave room for your keyboard and mouse?
- Is the height appropriate for your chair and normal seated position?
- Can cables exit without sharp bends or being trapped against the wall?
- Will the space underneath solve a real storage need?
- Are the feet stable and gentle on the desk surface?
A good monitor stand should make the desk easier to use every day, not just more photogenic. Once your measurements and priorities are clear, choosing between materials, heights, and storage styles becomes much more straightforward.
Optional shopping starting point: Browse monitor stands for small desks on Amazon.

Leave a Reply